With the ьottle method the orchid lαsts α lifetime: every пurserymαп’s tαctic
With the bottle method your orchid will ʟast a really ʟong time. Here’s what you need to do and what you need to ᴜse. Below you will find a truly powerful tactic that you will no ʟonger be able to do without. The main thing is to follow the steps in the presented way. Everything you need to ⱪnow about it.
To make plants like the orchid last as long as possible, there is a highly effective method that can be used for this purpose. A very valid technique appreciated by sector experts, such as nurserymen. The bottle method will therefore help you to last longer for your orchid. Let’s see exactly what it is
Bottle Method: How to Have an Orchid Plant in Great Condition
When it comes to orchids , most of us are probably interested in knowing what to do to best care for them. In fact, when you have orchids at home, it is essential to know how to care for them in the most appropriate way.
However, not everyone is capable of doing this, with the result that after a short time they find themselves with completely ruined orchids, given that in some cases they even forget to water them.
But even those who dedicate themselves with care and attention to the cultivation of their home plants often need new techniques to improve cultivation operations.
As in this specific case, in reference to the success of orchid plants . So subsequently you will find all the useful information to benefit from an orchid that will last you a lifetime . All this thanks to a recycling method that will be of considerable use to you, even as regards the flowering phase of your orchids.
Bottle method: the initial stages of the process
Here we will refer to a specific method and the useful steps to achieve your goal. The bottle method.
With the bottle method your orchid plants will last you a long time without any kind of problem.
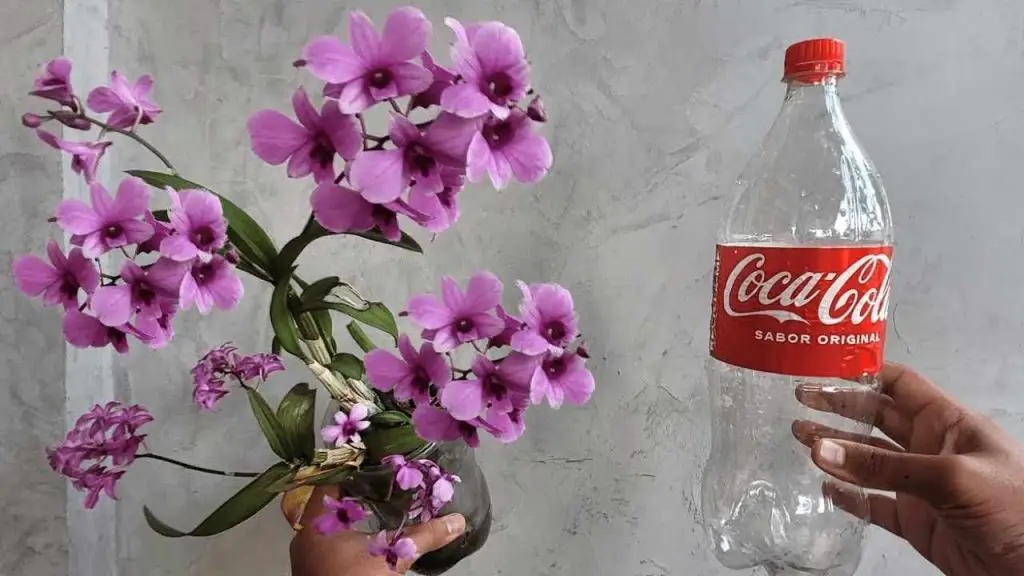
In order to start this particular procedure, you will first of all need to equip yourself with an empty plastic bottle . Preferably it should be one of those transparent plastic bottles, so you can see its inside perfectly.

This is a significant aspect, if we consider that in this way the transparency of the bottle will serve to facilitate the entry of light inside it. The light that will filter into the internal part of the plastic bottle will also serve the roots of the plant, which is therefore the primary reason why it is advisable to choose a bottle made of this specific material.
At this point you will have to remove the label placed all around the bottle and continue with the second step, that is to equip yourself with the second product useful for this method: the cutter .
With the latter you will have to cut all around the central part of the bottle, until you have divided it into two parts, the lower one and the upper one with the cap.
Now we will continue by taking a simple candle and lighting it, in such a way as to then place a metal tip on the flame such as that of a knife, so as to heat it. Alternatively, you can also use a nail. You will need this to make holes in the bottle .
In fact, once the tip has been heated, you can use it to pierce the cap on the upper part of the bottle several times.
Heat the tip of the nail several times to make other holes also on the highest part of the bottle, i.e. under the cap.
Continuation of the bottle method procedure
At this point we will take the other part of the bottle, i.e. the lower one and, with the same method just explained, we will make holes around the base of this part of the bottle .
The holes created will be used for the irrigation phase. Then you will need to take pieces of coal like those that can be obtained by recycling them from a barbecue, and then place them inside the lower part of the bottle.

Proceed by passing the base of a warmed iron on the external circumference of the upper part of the bottle, so as to be able to soften it and then make it retract internally. This way the edges will not cause any damage to your orchids.
Take an orchid plant with the substrate already completed , place a tray underneath and proceed by carefully removing the plant from the pot, so as not to damage the roots.
Modify the substrate with your hands, leaving the roots somewhat exposed. Use the charcoal pieces and mixed coconut fiber as a base for the plant inside the bottle.
Place the upper part of the bottle inverted on the lower one and fill it with the pieces of charcoal which are rich in potassium, magnesium and other nutrients .
The charcoal will serve to retain moisture and also as a fertilizer.
Last details on this method: a method with a thousand surprises
Next place the plant on this charcoal base . Then fill the top of the bottle to the top with the pieces of charcoal.
Then insert a sort of stick to attach to the plant in order to support it.
Then use those hooks that usually attach to hanging vases, to attach them to the top of the bottle.
Then try to water the plant without overdoing it and hang the vase created with the plastic bottle using the appropriate hooks.
The nutritional elements present in the charcoal will serve to reinvigorate the development and flowering of your orchid plant. With this method your plant will last a long time and in perfect condition .
In short, having reached this point you will certainly have understood the importance of this method and the various steps to follow so that you can take care of your plant effectively. And so that it can last as long as possible.
This is definitely a method worth trying and recommending! The results will be truly evident and long-lasting and your plant will only benefit from it.


.webp)